For the Lego Project, SELC students were tasked to create a Lego set, which not only helped us develop skills in 3D modeling and 3D printing, but also brainstorming, sketching, teamwork, and problem solving.
In the beginning, each group of about 5 people brainstormed ideas for the project. Eventually, my group decided to create a Lego robot. At first, our goal was to recreate an existing Lego set, but we soon switched to a simplified design once everyone in our group agreed that the original design would be too difficult and time-consuming.
Once we had agreed on an idea, each member in our group created a sketch (the first sketch below is of the original design, and the second sketch is of the simplified design). We created two sketches; one 2D sketch on normal graph paper and one 3D sketch on isometric paper.
Once we had finished our sketches, it was time to 3D model our design. We used the program Fusion 360 to accurately model each individual Lego piece that we needed for the project. Through this process, we learned many new techniques for modeling. After a couple of days of modeling, we had finished each piece and assembled them all in Fusion.
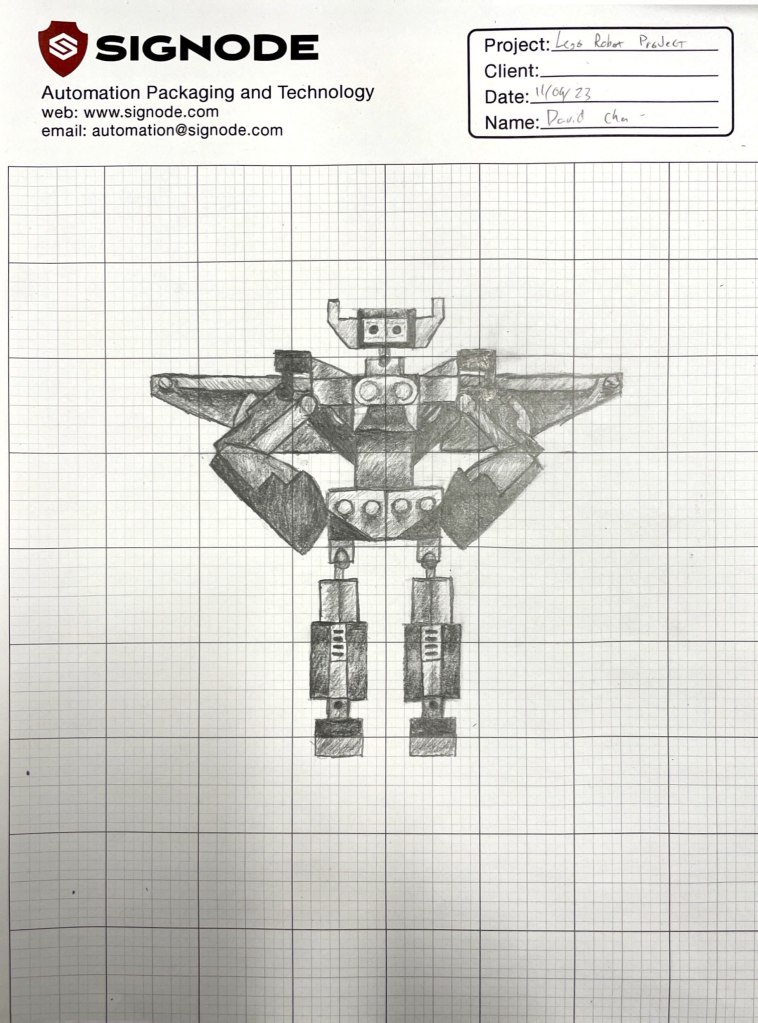
Above: 2D concept sketch of the first robot design
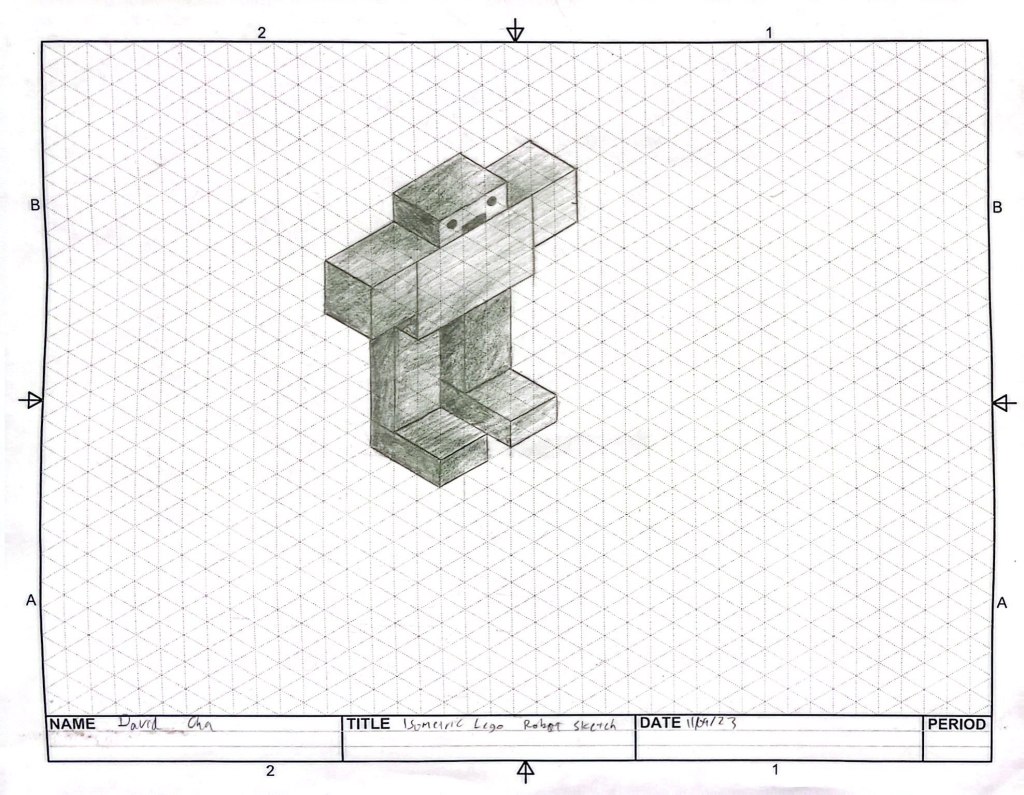
Above: 3D concept sketch of an early iteration of the second design
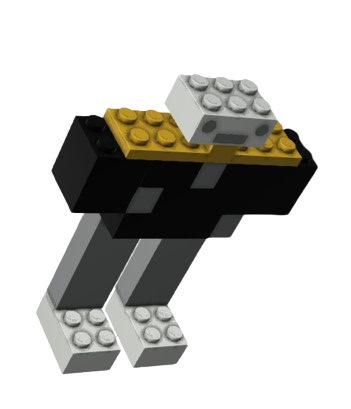
Above: 3D model of the final robot design
Above: Video instructions for the robot
Above: Parts list of robot
Citations
Product Design Online. (2022, July 1). Day 1 of Learn fusion 360 in 30 days for complete beginners! – 2023 edition. YouTube. https://www.youtube.com/watch?v=d3qGQ2utl2A
Bartneck, C. (2020, January 15). Lego brick dimensions and Measurements. Christoph Bartneck, Ph.D. https://www.bartneck.de/2019/04/21/lego-brick-dimensions-and-measurements/
